DIY Kossel XL prints too small... And flying extruder question
Posted by Archiclem
|
DIY Kossel XL prints too small... And flying extruder question February 06, 2018 03:27PM |
Registered: 8 years ago Posts: 49 |
Hello every one !
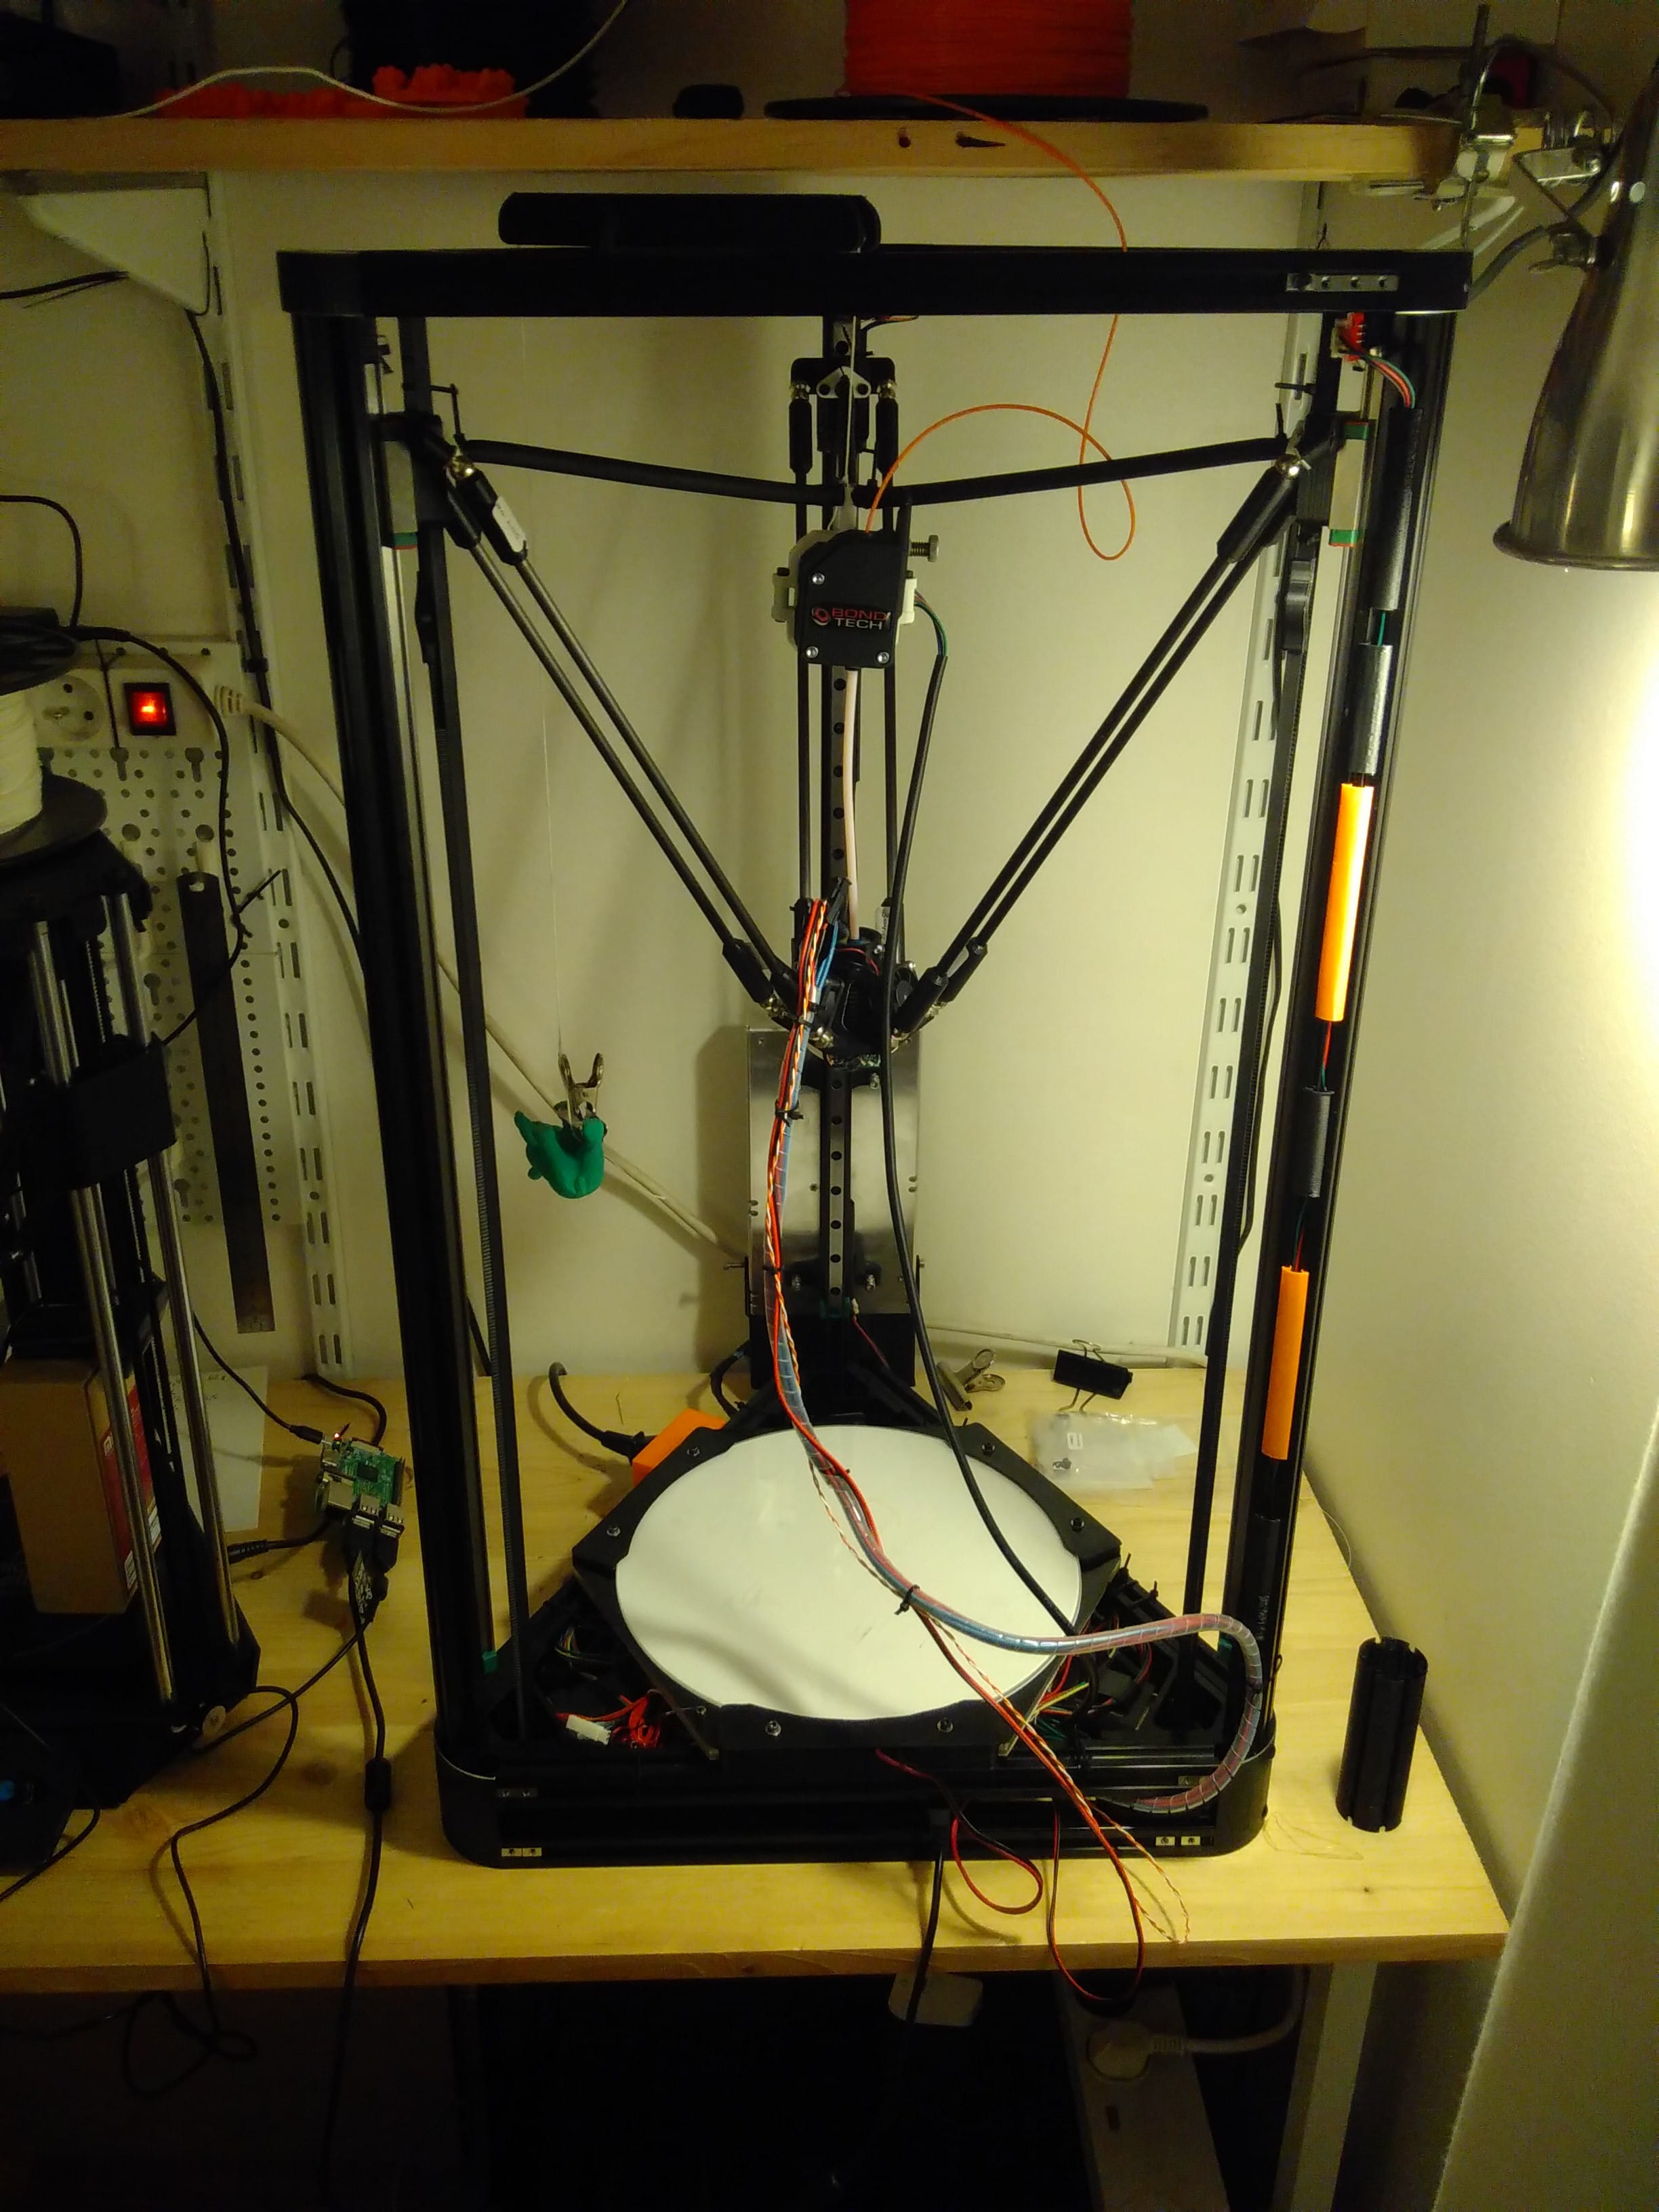
I built a kossel XL and I'm having a little issue.
My machine is powered by a nice smoothie-board, and I use the DC42 infrared sensor ! (works really well )
)
Anyway, the print result are gorgeous, thanks to a suspended flying bondtech QR extruder. It is the best printer i've seen, better than the ultimaker 2 I use at work wich was my previous benchmark regarding print quality.
But there is a catch, my prints are a little too small, nothing dramatic, I noticed it recently because I tried to print a pulley with a 625 bearing, and it never fit. The printed part was indeed 1mm to small.
I run the automatic calibration on my printer, so I never bothered to enter real measured values into the smoothie firmware.
So, what would be causing this problem ? Isn't the automatic calibration supposed to take care of this ?
(P.S. : Cable management is now a mess because of a recent complete re-building.)
EDIT :
I have a flying extruder as mentioned before, and when the motor are off, the effector crashes toward the bed. I used a counterweight system to prevent that, but is there any other solutions ?
Edited 1 time(s). Last edit at 02/07/2018 02:52AM by Archiclem.
I built a kossel XL and I'm having a little issue.
My machine is powered by a nice smoothie-board, and I use the DC42 infrared sensor ! (works really well
)Anyway, the print result are gorgeous, thanks to a suspended flying bondtech QR extruder. It is the best printer i've seen, better than the ultimaker 2 I use at work wich was my previous benchmark regarding print quality.
But there is a catch, my prints are a little too small, nothing dramatic, I noticed it recently because I tried to print a pulley with a 625 bearing, and it never fit. The printed part was indeed 1mm to small.
I run the automatic calibration on my printer, so I never bothered to enter real measured values into the smoothie firmware.
So, what would be causing this problem ? Isn't the automatic calibration supposed to take care of this ?
(P.S. : Cable management is now a mess because of a recent complete re-building.)
EDIT :
I have a flying extruder as mentioned before, and when the motor are off, the effector crashes toward the bed. I used a counterweight system to prevent that, but is there any other solutions ?
Edited 1 time(s). Last edit at 02/07/2018 02:52AM by Archiclem.
|
Re: DIY Kossel XL prints too small... February 07, 2018 02:42AM |
Registered: 8 years ago Posts: 5,232 |
|
Re: DIY Kossel XL prints too small... February 07, 2018 02:50AM |
Registered: 8 years ago Posts: 49 |
No both inside and outside diameter are too small. But i Think I will try to input very accurate dimensions into the firmware (like the delta arm length, since I have Haydn's arm that are measured...) and let you know if this solve the problem.
By the way, I have another problem, I used a Flying Extruder, but since it is a bond-tech QR it's a bit on the heavy side, and when the motor current is turned of, the effector slowly hit toward the bed. I've used a counterweight system to prevent that, but I was wondering if there was a better solution ?
By the way, I have another problem, I used a Flying Extruder, but since it is a bond-tech QR it's a bit on the heavy side, and when the motor current is turned of, the effector slowly hit toward the bed. I've used a counterweight system to prevent that, but I was wondering if there was a better solution ?
|
Re: DIY Kossel XL prints too small... And flying extruder question February 08, 2018 08:45AM |
Registered: 8 years ago Posts: 3,525 |
Work out the amount parts are too small, if its 1% then multiply your diagonal rod length in config by 0.99 (0.98 if 2% etc) then autocalibrate but do not allow the calibration routine to change rod length.
As for effector dropping buy a key chain retractor of good quality I use mine to support my umbilical cable in a nice loop going up from effector.
Simon Khoury
Co-founder of [www.precisionpiezo.co.uk] Accurate, repeatable, versatile Z-Probes
Published:Inventions
As for effector dropping buy a key chain retractor of good quality I use mine to support my umbilical cable in a nice loop going up from effector.
Simon Khoury
Co-founder of [www.precisionpiezo.co.uk] Accurate, repeatable, versatile Z-Probes
Published:Inventions
|
Re: DIY Kossel XL prints too small... And flying extruder question February 10, 2018 03:10AM |
Registered: 8 years ago Posts: 5,232 |
|
Re: DIY Kossel XL prints too small... And flying extruder question February 10, 2018 03:19AM |
Registered: 8 years ago Posts: 3,525 |
Me too but I will adjust the rod length in M558 if the scaling is off and I use 8 factor as I want the bed tilt compensated for also. I've tried using the scaling factor Mcode but it did not produce correctly sized parts when I tried it, and kept my rod length to the actual measured length.
Simon Khoury
Co-founder of [www.precisionpiezo.co.uk] Accurate, repeatable, versatile Z-Probes
Published:Inventions
Simon Khoury
Co-founder of [www.precisionpiezo.co.uk] Accurate, repeatable, versatile Z-Probes
Published:Inventions
|
Re: DIY Kossel XL prints too small... And flying extruder question February 27, 2018 01:01PM |
Registered: 9 years ago Posts: 12 |
I recommend against adjusting the length of the arms, because on the arms I've built, their length is an accurately measured quantity.
Instead, I adjust the number of steps per mm of belt.
I've built some machines where the belts got slightly stretched, and this made things come out perfectly.
After adjusting the number of steps per mm (for example from 400 steps/mm to 404 steps/mm because the outside dimension of the parts came out 1% too small), then recalibrate, and it should be perfect or very close to it.
Sorry, only registered users may post in this forum.