As this part of the forums is for machine variations, I thought I'd post a couple small ones I did.
My i3 kit was purchased from DIY Tech Shop -- my experience with them has been great overall, especially for my first RepRap.
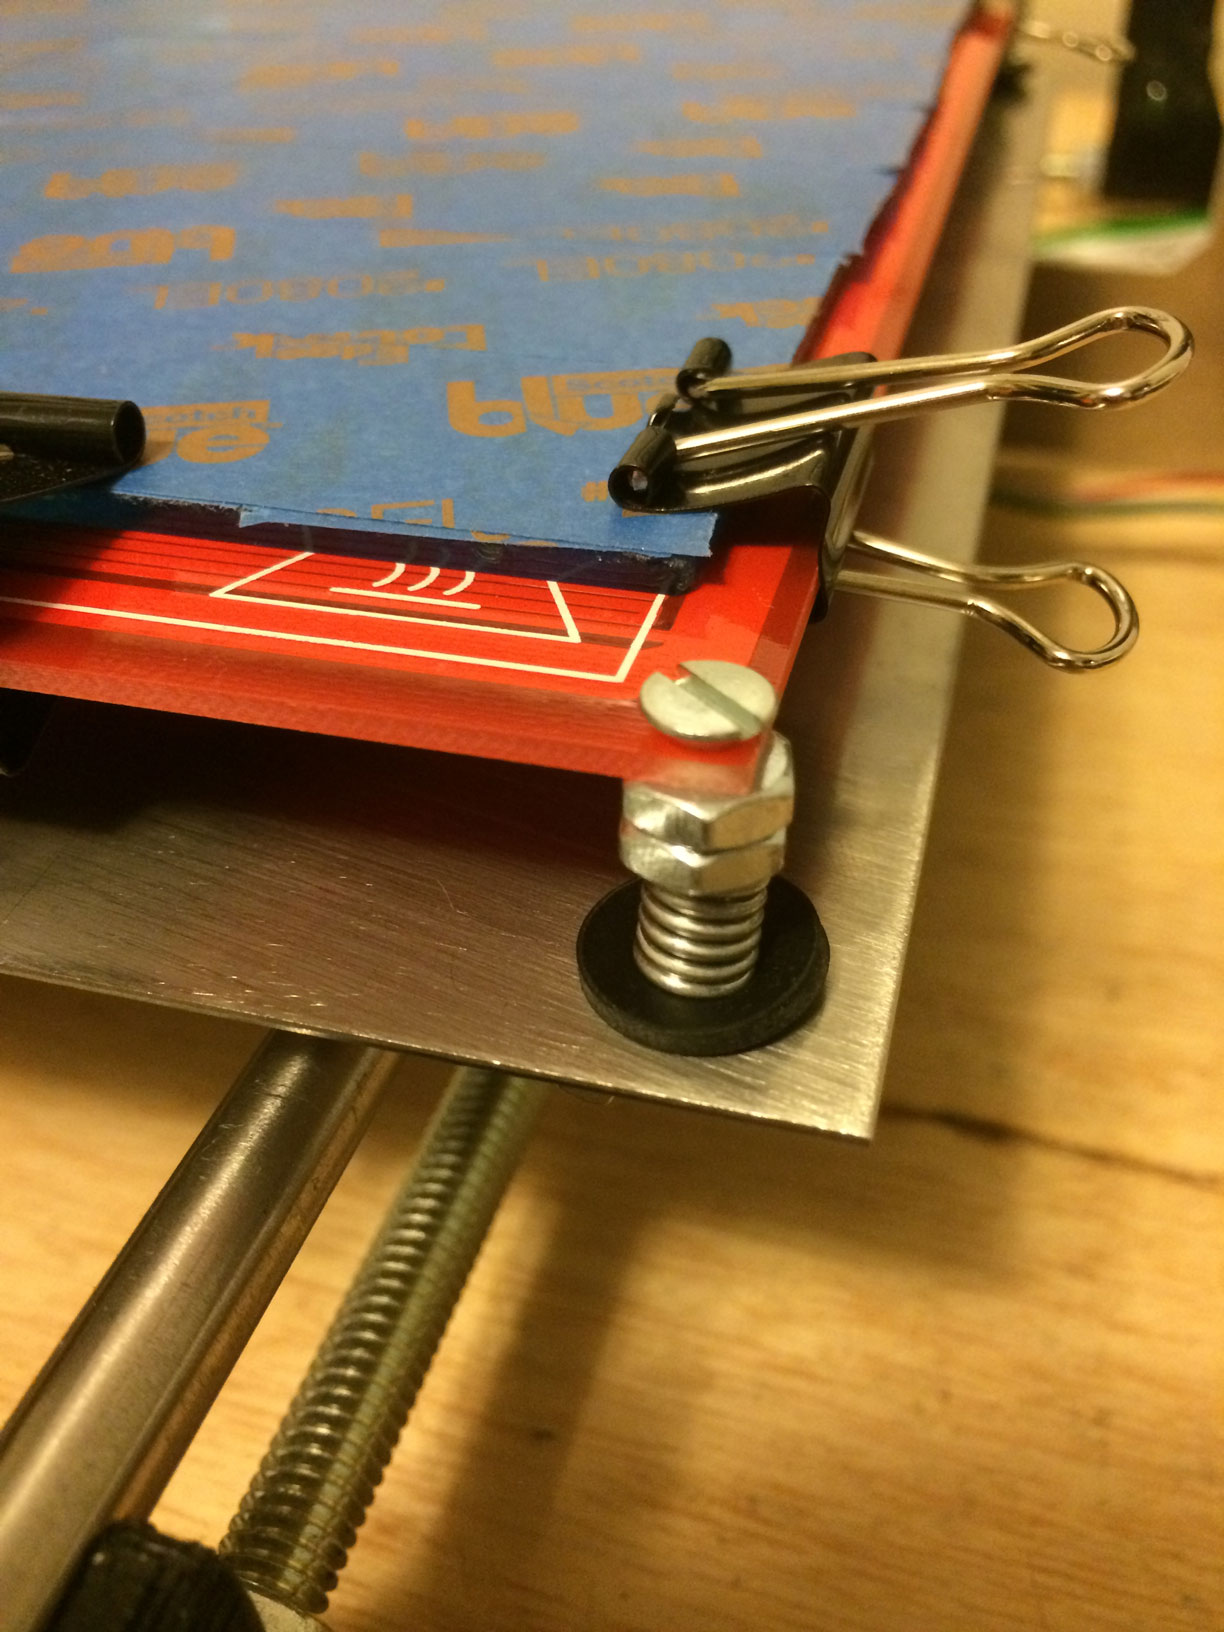
Bed Leveling
Finished pic attached -- print-bed-level-mod.jpg
Pretty simple here -- the stainless steel plate's holes were not drilled in the proper places. I reamed them out to ensure the bed slid up and down easily.
Due to the larger holes, I bought a few Rubber Washers to place under the springs -- 1/2" x 3/16"
Next, I replaced the light springs with something a bit more heavy duty -- 1/4" dia compression springs. Once I cut them to fit, tightening started to feel MUCH better.
Lastly, I was losing my wing nuts from vibration on the printer. I bought a few #6 lock nuts to throw on there -- no more issues.
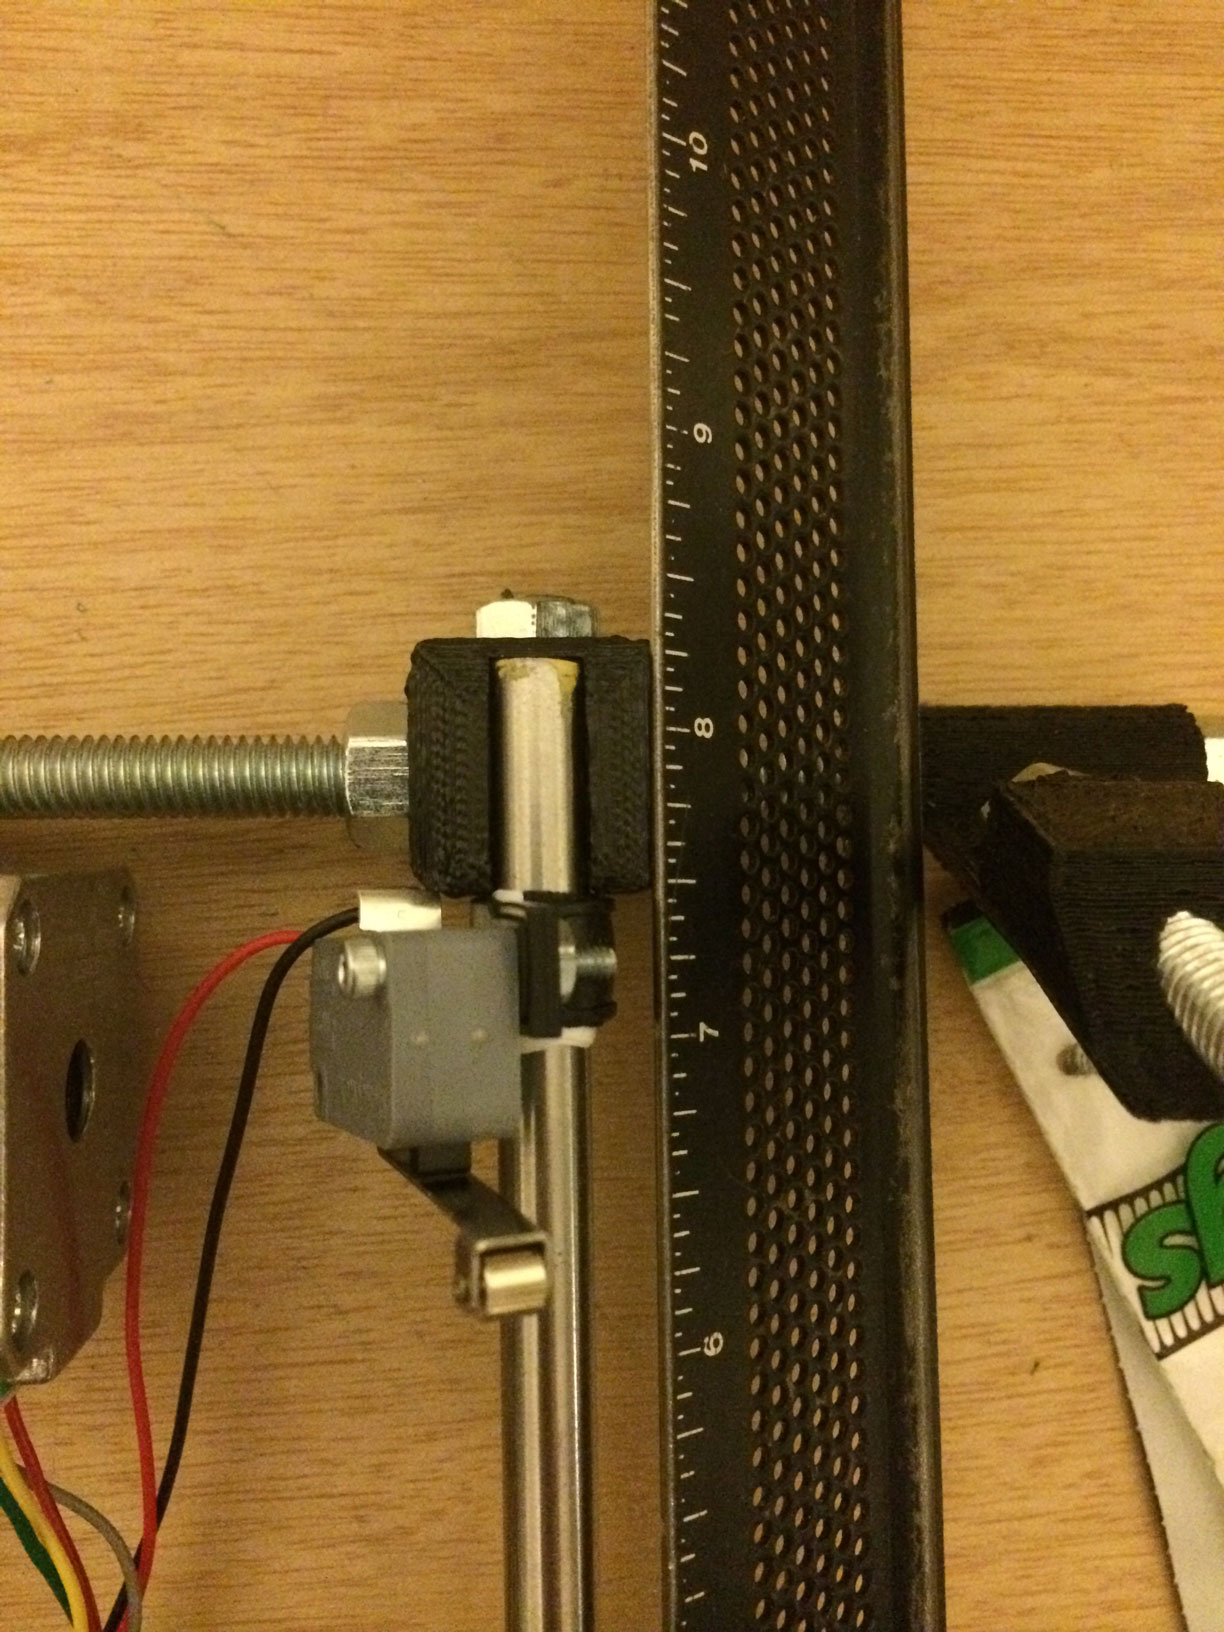
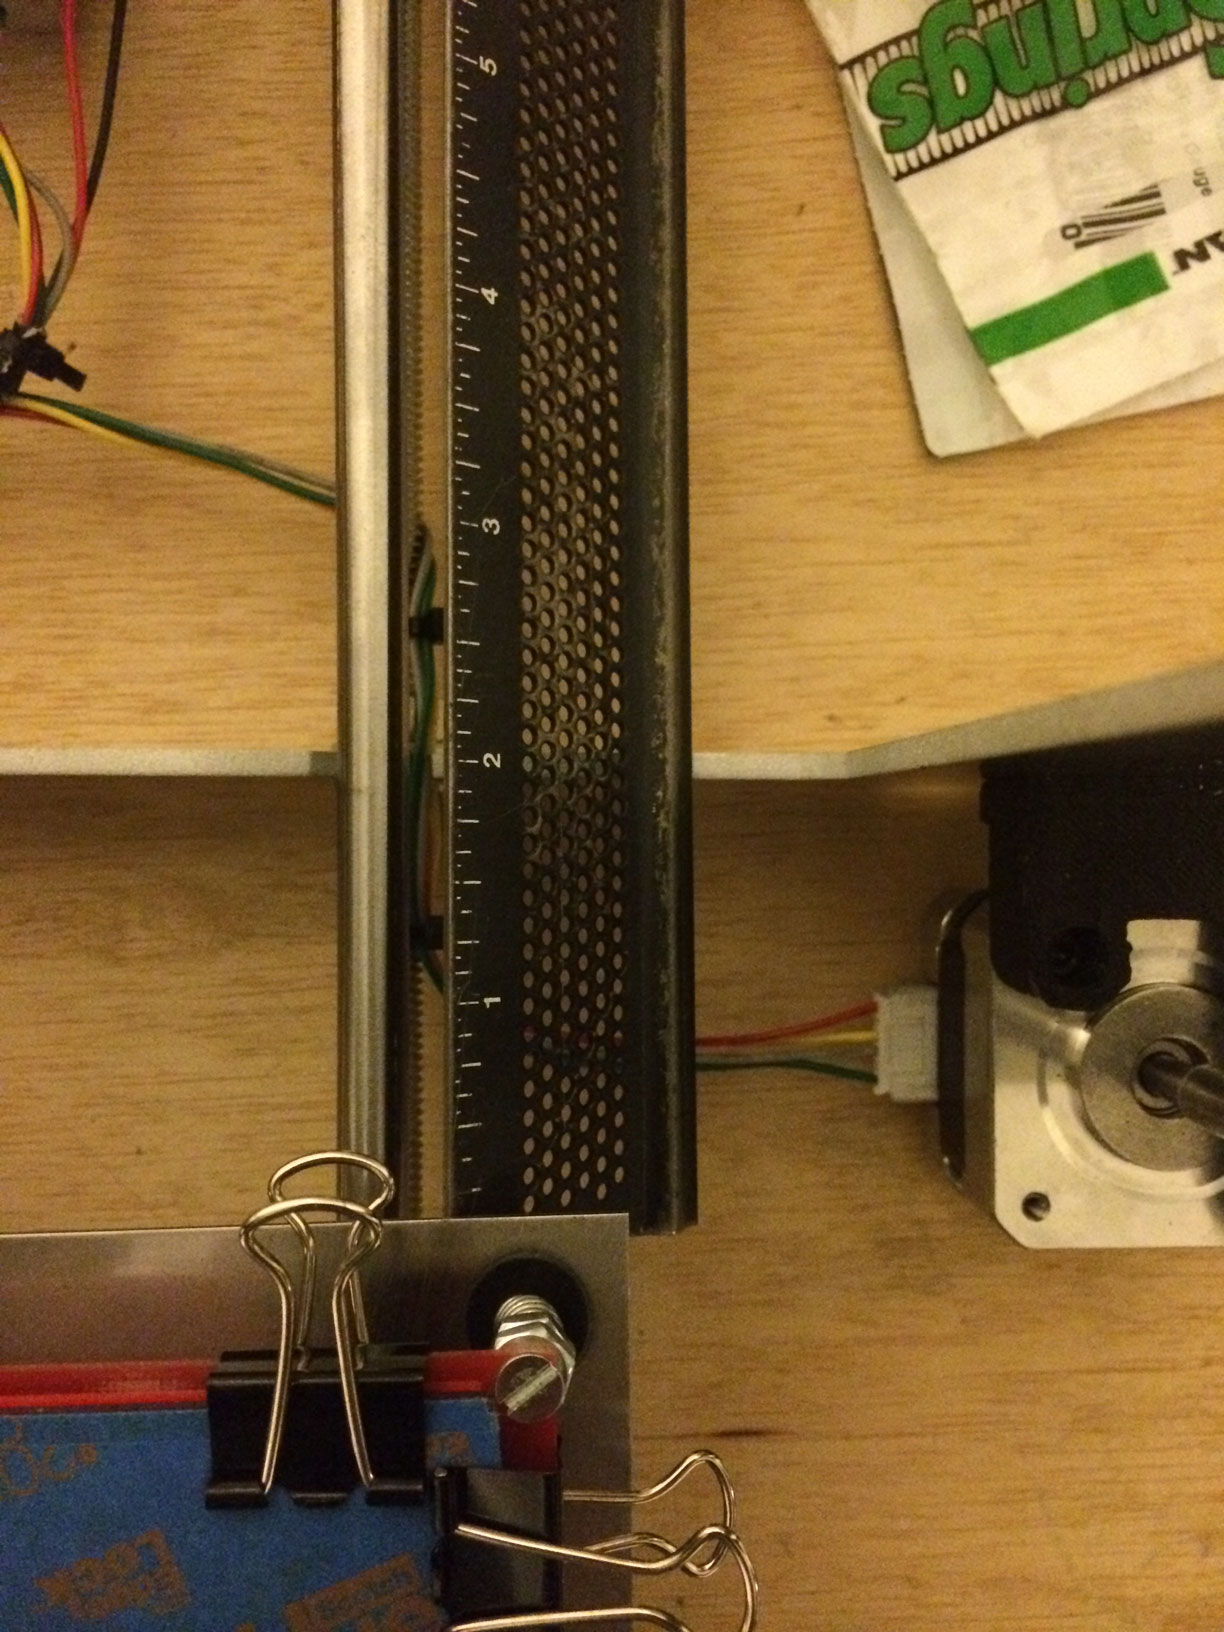
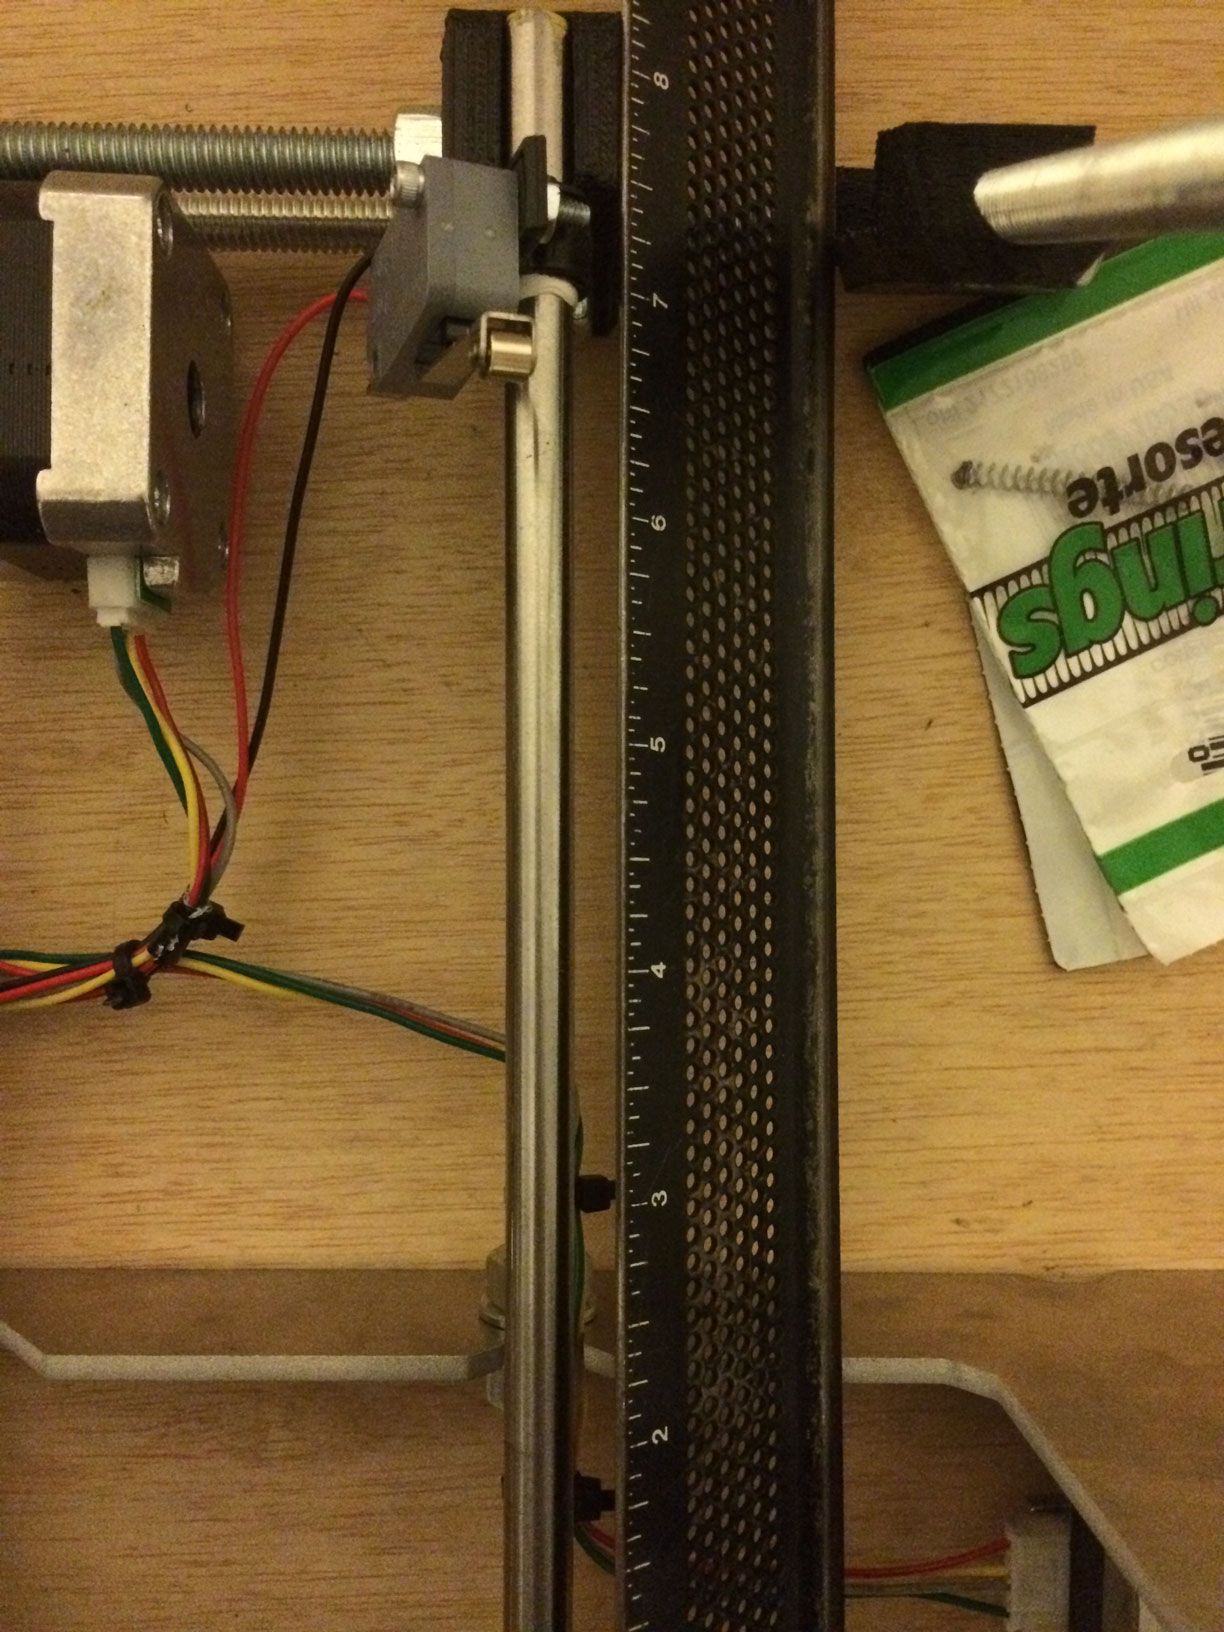
Y Axis
Pics w/ ruler -- y-axis.jpg, y-axis-mid.jpg, y-axis-back.jpg
The instructions from DIY tell you that the distance from the backplate to the back Y Axis Corner is 70mm (2.75"), but that did not allow for placement of my Y Axis Endstop.
As you'll see from the images, I moved my Y Axis back to approx. 140mm (5.5") to place my endstop.
Unfortunately, this takes away about 20mm of build area -- which I'm okay with for now.
Maybe this will give those new to RepRapping some ideas on how to mod their kits.
Polymathiae
Twitter: @Polymathiae
Edited 1 time(s). Last edit at 02/06/2014 03:07AM by Polymathiae.
